Verify your domain
Authenticate your sending domain — DKIM, SPF, DMARC, automatic setup on Cloudflare.
To send campaigns from your own address (for example [email protected]), your domain must be authenticated: inboxes verify that the sender really is who they claim to be. Without this step, your emails land in spam — or never arrive at all.
If DKIM, SPF and DMARC are new to you, read the plain-language explanation first.
1. Add your domain
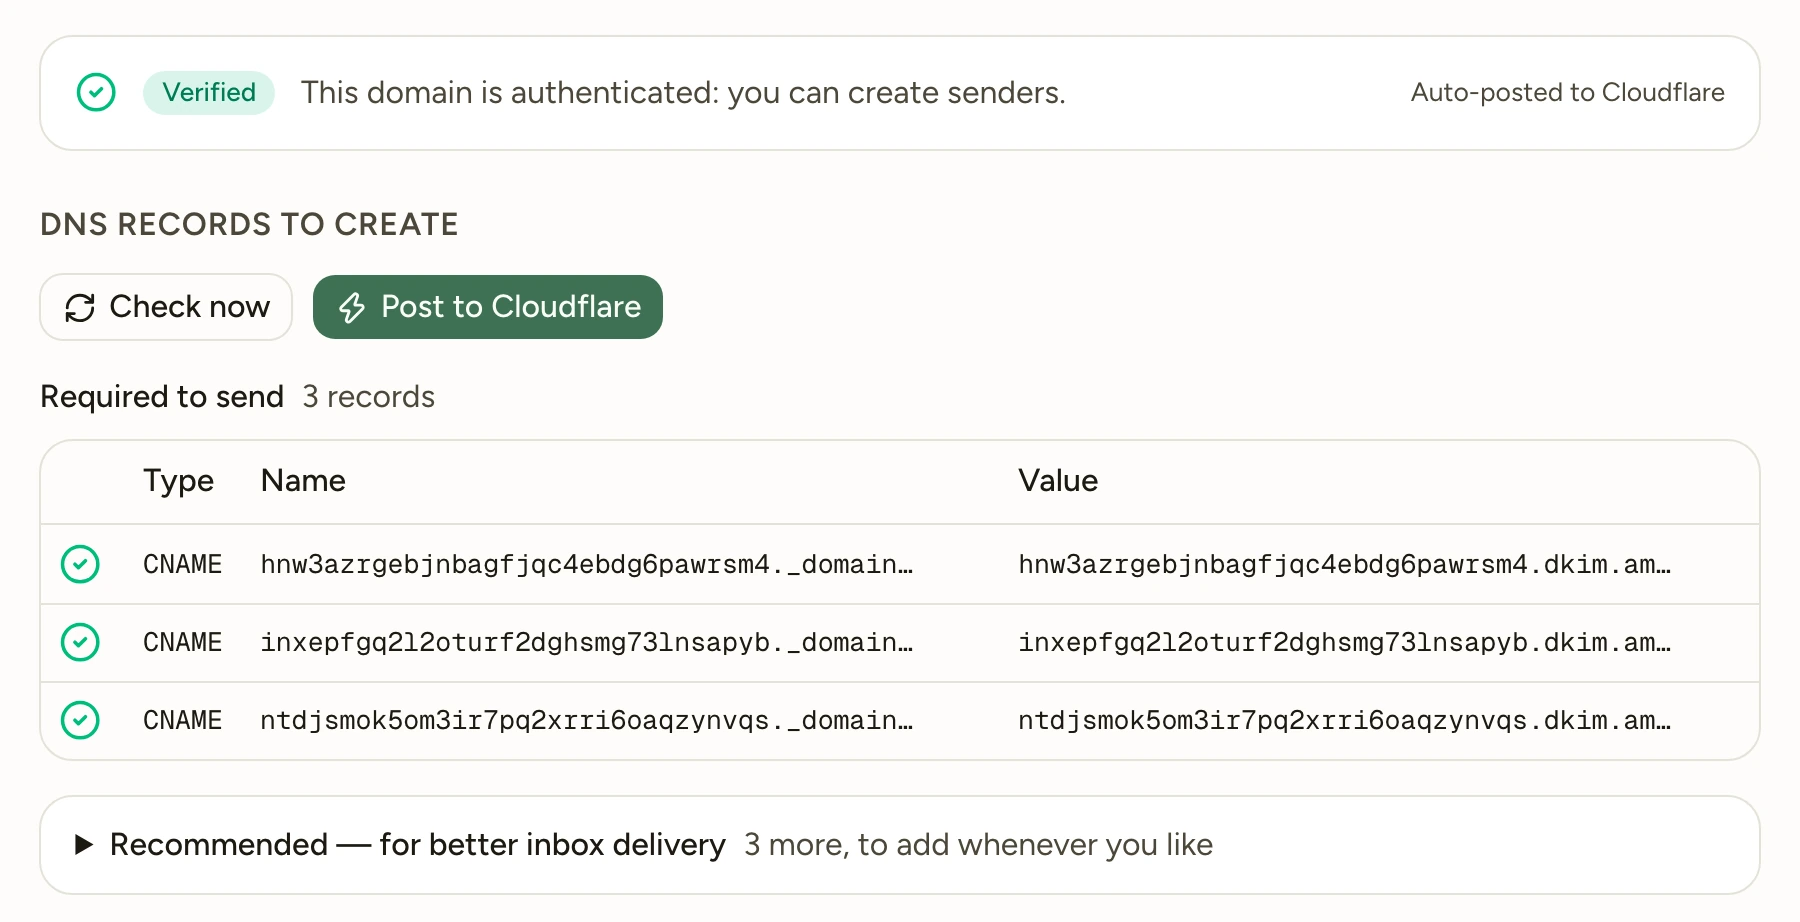
In Domains, click "Add a domain" and enter the domain you will send from (e.g. example.com). Mailcheer creates the sending identity and generates the exact DNS records to publish:
- 3 DKIM CNAME records — the cryptographic signature of your emails;
- 1 MX and 1 TXT (SPF) on the technical subdomain
mail.your-domain.com; - 1 DMARC TXT recommended on
_dmarc.your-domain.com.
Each line is shown with its type, name and value, ready to copy.
2. Publish the DNS records
Two paths:
- Your DNS is on Cloudflare: click "Post to Cloudflare", create the suggested key — the "DNS: edit" and "Zone: read" permissions are already selected — then paste it. Mailcheer adds the records to your account. The key is used once and is not kept. An existing DMARC policy is never replaced, and an existing record that does not belong to Mailcheer is never overwritten.
- Anywhere else: copy each line to your DNS provider (GoDaddy, Namecheap, Ionos…). If you add them by hand on Cloudflare, the DKIM CNAMEs must stay "DNS only" (unproxied).
3. Verify
Click "Check now". Mailcheer checks each record and shows the status line by line; the domain's global status then changes to Verified.
DNS propagation: changes typically take a few minutes, but can take up to 24–48 hours depending on your provider. If verification fails right after publishing, wait a moment and try again — nothing is lost.
Next step
Domain verified? Create your senders.