Create an account
How to create a Mailcheer account: the sign-up form, automatic workspace provisioning, and how to invite team members to share the same workspace and lists.
Sign up
Go to mailcheer.com/signup and create your account with an email address and password. You can also sign up with your Google account, using the "Continue with Google" button.
Password requirements: at least 10 characters — no other constraint.
After you click "Create my account", Mailcheer sends a verification link to your address. Click it, and you are signed in automatically — no separate login step. If the email takes a while, check your spam folder.
The free plan lets you send up to 3,000 emails per month with no credit card required — see Quotas and plans.
Your session
Your session lasts 30 days and renews automatically on each day you use the product. You will only be asked to sign in again if you have been away for more than a month, or if you explicitly signed out.
Your workspace
When you sign up, Mailcheer automatically creates your workspace (an "organization"): it holds your subscribers, segments, domains and senders. All your data is scoped to that workspace — nothing is shared between two workspaces.
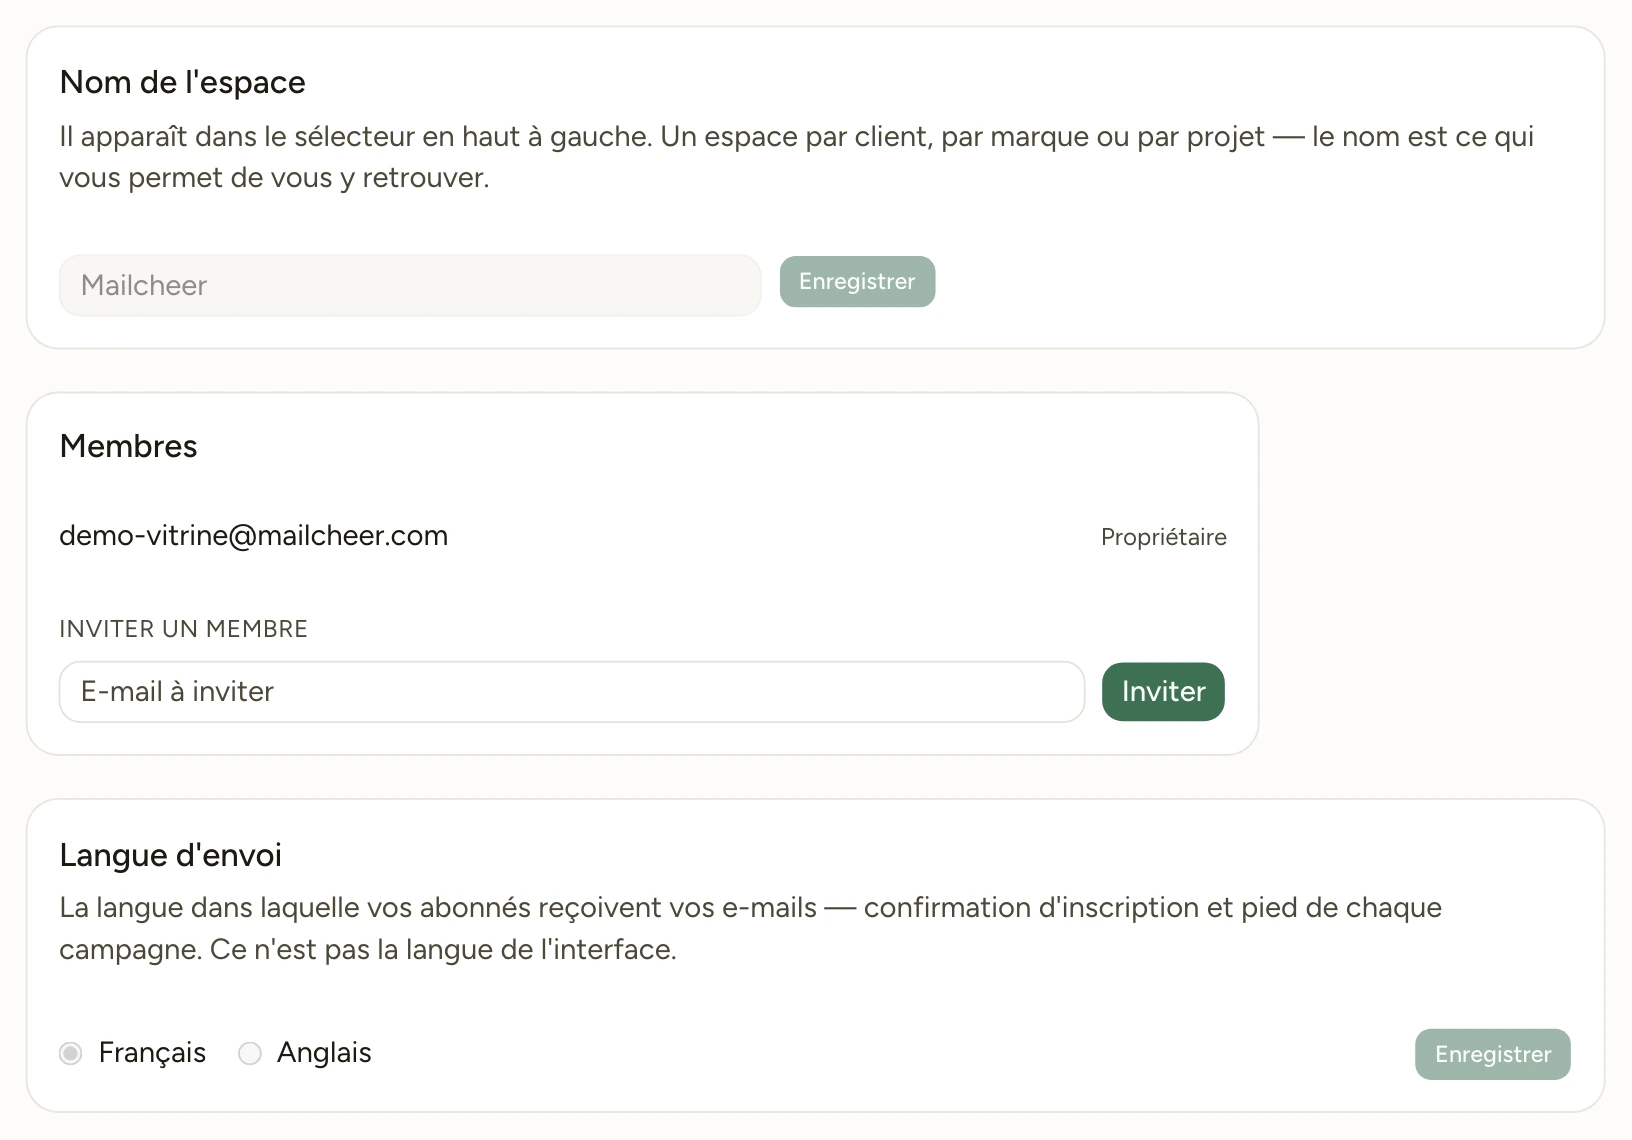
Invite members
A workspace can have multiple members. Invite them by email; the invitee receives an acceptance link and joins the workspace with their own account.
Pending invitations count toward your seat limit — an invitation never accepted does not free up a seat until it expires.
Multiple workspaces
A single account can belong to several workspaces (useful for an agency managing multiple clients) and switch between them from the interface. Each workspace has its own plan and its own send counter, and no plan limits the number of workspaces: see Quotas and plans.
Forgotten password
Use the "Forgot your password?" link on the sign-in page. A reset link is sent to your email address immediately.
Next step
Your workspace is ready: import your contacts.